The ability to track certifications for employees allows your company and managers to stay compliant with state and federal requirements. When tied to a Qualification, certifications also help ensure employees with appropriate and non-expired certifications are working the correct shifts. This article will review how to add new and edit existing certifications.
Getting Started:
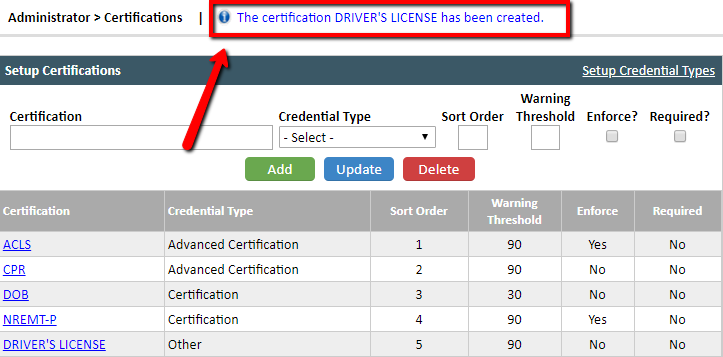
To begin you will navigate to Administrator > Certifications. This will bring you directly to the Setup Certifications page where you can begin adding or editing certifications for your company.
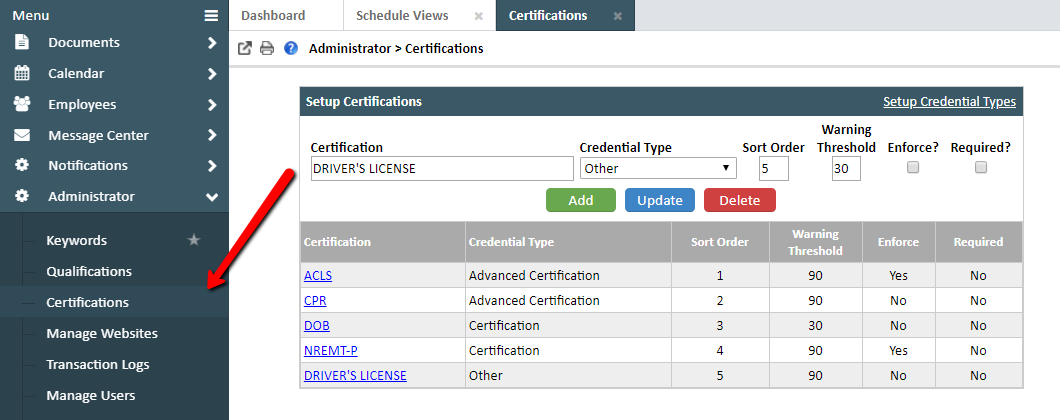
First, you will need to fill out the blank text fields within the "Setup Certifications" box.
- The 'Certification' text field allows you to enter the name of the certification you would like to begin tracking.
- The 'Credential Type' drop down allows you to select the type of certification you are adding. You can set up credential types by clicking the white Setup Credential Types link in the corner of the Setup Certifications box.
- The 'Sort Order' text field will determine where the certification shows up in your list. You can list this as a whole number or with a decimal value.
- The 'Warning Threshold' text field indicates the number of days in advance an expiration countdown reminder should appear on an employee's Self Service Dashboard, as well as within their Employee Profiles in Employees > Manage Employees.
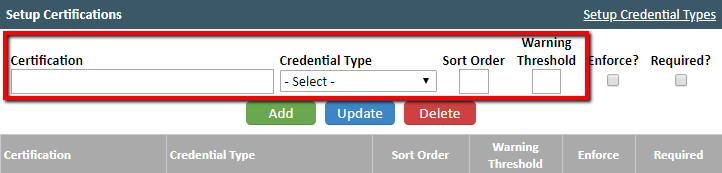
You will then have the option to choose to list a certification as 'Enforce?' and/or 'Required?'.
- The 'Enforce' check box sets up scheduling restrictions for the associated certification. This will (1) prompt an expired certification warning to appear when a scheduler attempts to schedule an employee with an expired certification and (2) prevent employees with expired certifications from punching in if time clocks are enabled.
- Important: Remember to check this box if you have certification requirements mapped to qualifications.
- The 'Required' check box indicates required certifications in employee profiles. This will also allow you to run certain reports based off of the required certifications.
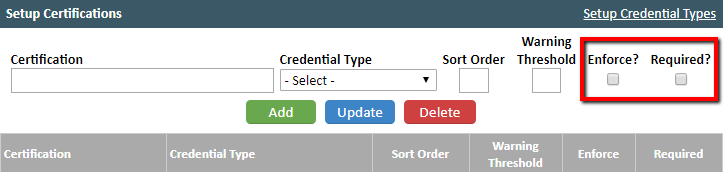
When you've finished adding the certification information, click the green 'Add' button to add it to your list!
Once you've added the new certification, you will see a blue notification at the top of the page confirming it was successful.
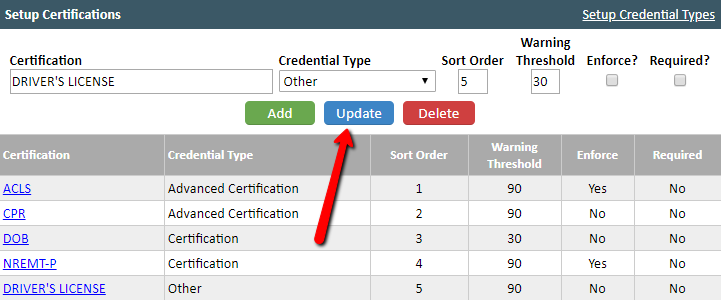
To edit a certification, click on the certification name (indicated by the blue hyperlink). Once the certification information repopulates in the text fields and check boxes, you can make changes to the information as desired. When you are finished, be sure to click the blue 'Update' button to save your changes!
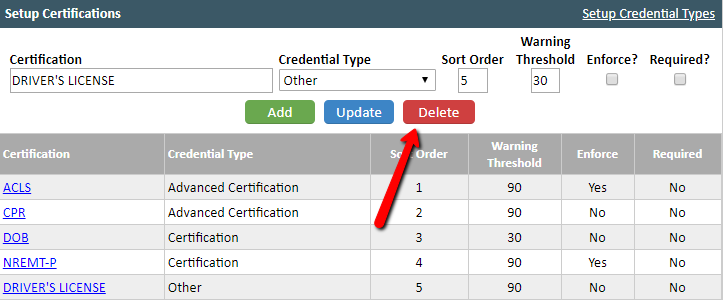
To delete a certification that is no longer in use, you will use the red 'Delete' button to remove it from your list permanently.
- Note: Any certifications deleted while still listed in an employee profile will be defined as 'Orphan Certifications' and can be identified using the Credential Orphan Report. You can find this by navigating to Employees > Credential Reports > Credential Orphan Report.
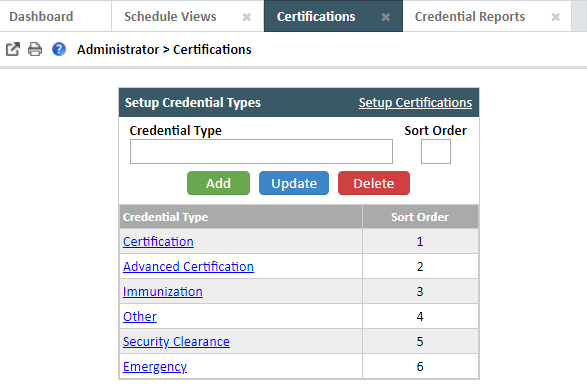
Setup Credential Types:
To begin you will click the white 'Setup Credential Types' link in the upper right hand corner of the Setup Certifications box.
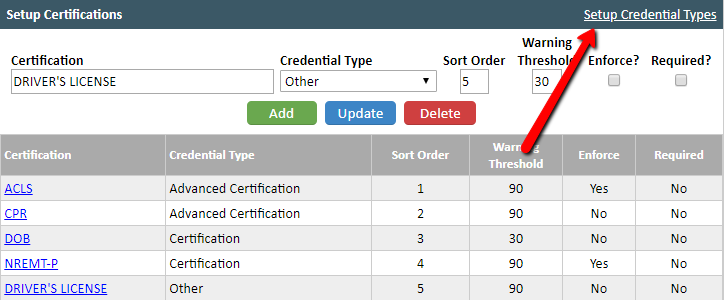
This will bring you to the 'Setup Credential Types' page where you can define the types of certifications that will be listed or used in your system.
Comments
0 comments
Article is closed for comments.