ePro ConEd Online Courses allow you to create and manage learning materials for your employees that can be accessed and completed anywhere that they have access to an internet connection. With this type of flexibility, taking courses to update certifications is a snap.
Important things to note:
At this time, no content is provided for ePro ConEd. If you would like more information about this add on tool, please contact support.
Getting Started:
To begin you will navigate to ePro Con Ed > Manage Courses.
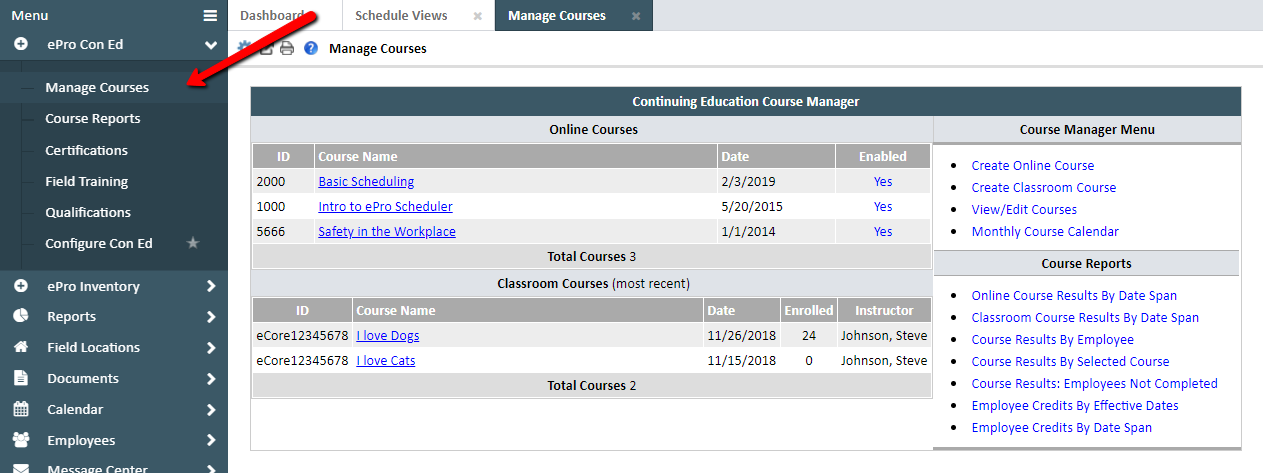
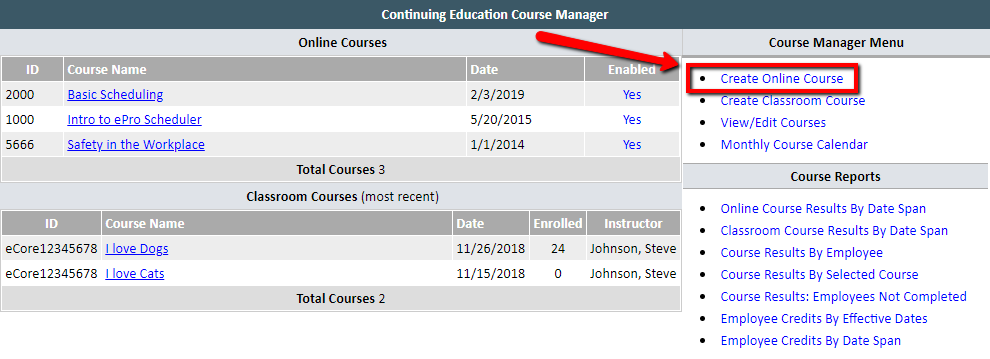
On this page you will see a section titled 'Course Manager Menu' in the upper right hand side of the screen. Within this menu you will click the first option 'Create Online Course.'
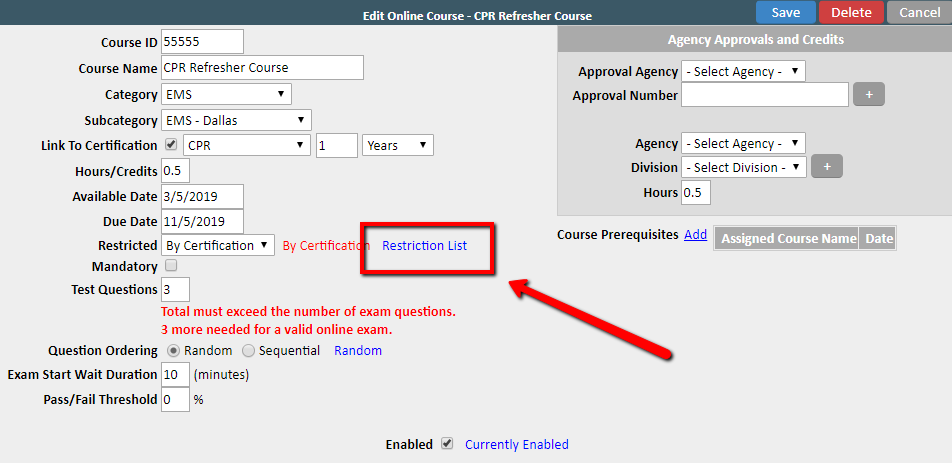
The initial creation of your online course will require you to update some course options as seen below. Once complete you will click the blue 'Save' button.

- The 'Course ID' text field allows you to add a course number.
- The 'Course Name' text field allows you to add a course name to easily identify the course.
- The 'Category' drop down field allows you to enter what type of course this is. You can populate this drop down by navigating to Configure Con Ed > Continuing Education Setup > Course Category List Setup
- The 'Subcategory' drop down field allows you to enter a secondary course type to a course profile. You can populate this drop down by navigating to Configure CE > Continuing Education Setup > Course Sub Category List Setup
- The 'Link To Certification' fields allow you to tie your Con Ed course to a certification as, well as, allows you to select how often they need to renew the course.
- The 'Credits' text box allows you to assign credits to a course, if applicable.
- The 'Available Date' text box allows you to select a day that this course will be available to employees.
- The 'Due Date' text box allows you to state when the course needs to be completed.
- The 'Enabled' check box allows this course to be accessible to employees when selected.
- The 'Mandatory' check box allows you to dictate that a course is mandatory when selected.
- The 'Test Questions' test box allows you to input the number of questions you want the course to have.
- The 'Question Ordering' radio buttons allows you to chose if you want the questions to show up in a Random order or if they will show up in a Sequential order.
- The 'Exam Start Wait Duration' text box allows you to add a time delay before starting an exam if the employee needs to read a document or watch a video.
- The 'Pass/Fail Threshold' text box allows you to set a percentage of what qualifies as a passing grade.
- The 'Instructions' text box allows you to state any further instructions for the employee.
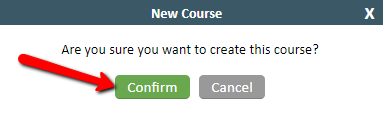
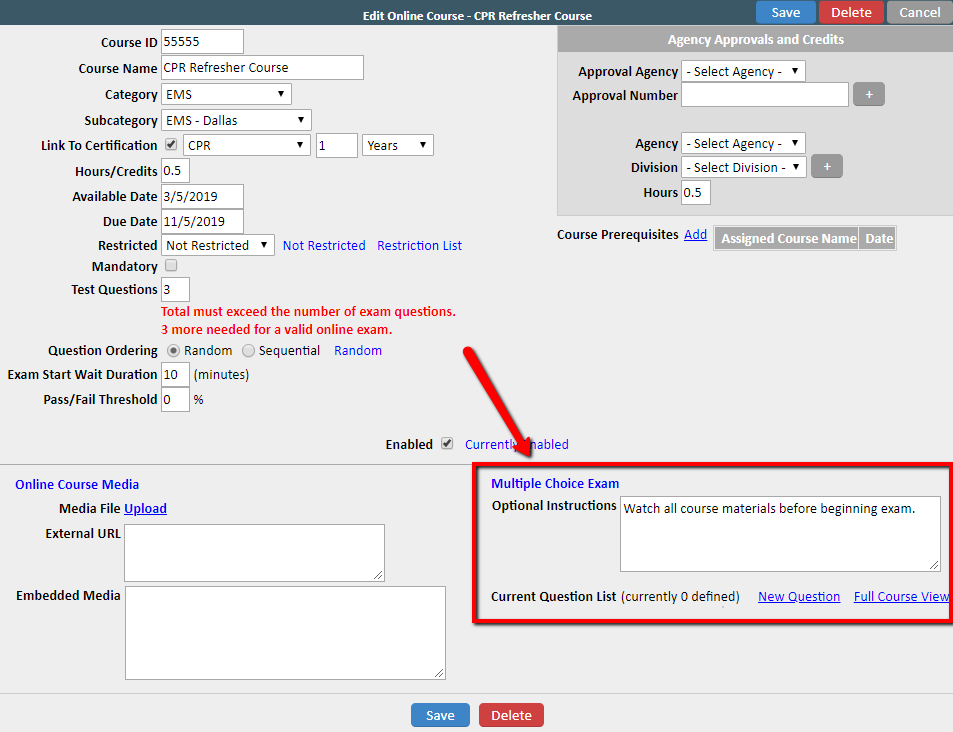
After updating and saving you will be prompted to confirm with a green 'Confirm' button. You will then be directed to the full 'Edit Online Course' page.
Using the 'Edit Online Course' Menu:
Once on this new page the first item we recommend you update is the 'Restricted' list. This tool allows you to restrict a course by Certification or Employee.
To begin you will select either 'By Certification' or 'By Employee' then click the blue 'Save' button. You will then be prompted to confirm and the page will refresh providing you access to update the list.

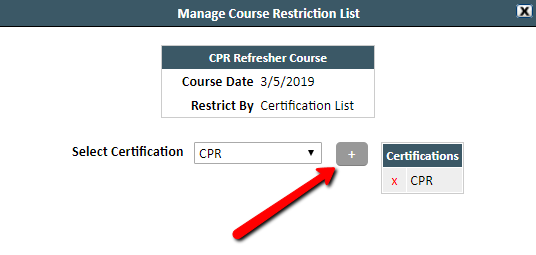
After saving the blue 'Restriction List' link will be. Clicking on this link will open the 'Manage Course Restriction List' window where you will be able to add restrictions to this course.
From this window you will select from the drop down of certifications or employees and then click the grey 'Plus Sign' button shown below.
This will add the certifications or employees to the list of restrictions for the course. To remove any items from the list you will click the red 'X' beside the item.
Changes are instant so when finished you can simply close the window.
Adding Questions and Answers:
The next step in creating an Online course is adding the questions and answers in your exam. Using the 'Multiple Choice Exam' section in the bottom right hand corner.
Click the blue 'New Question' link to begin adding questions and answers to your online exam.
You will first need to determine how many answer options the users should have for each multiple choice question. In the example below we've selected 3 answers to choose from. Once populated click the gray 'Refresh Form' button to view the answer text fields.
Once you have added your question and answers, you are ready to save by clicking the blue 'Save' button at the bottom. You will then be moved to the next question you would like to add, when finished you will click the grey 'Close' button.
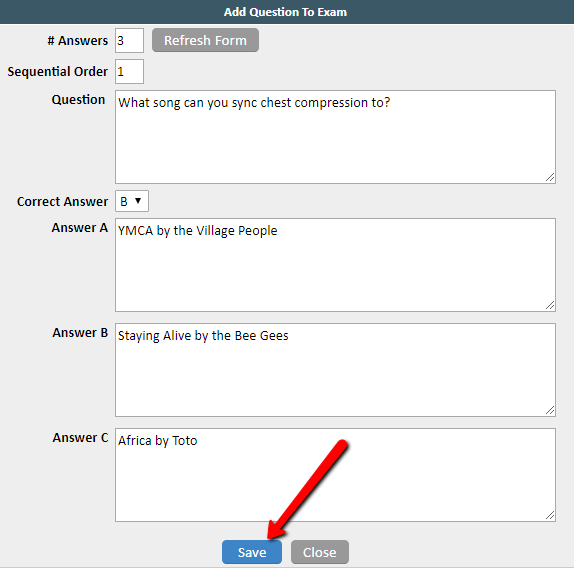
- The '# Answers' text field allows you to select the number of answer choices you want the question to have. Once populated click the gray 'Refresh Form' button
- The 'Sequential Order' text field allows you to pick where you want this question to be place on the exam if you want them listed in a sequential order.
- The 'Question' text field is where you will type your question.
- The 'Correct Answer' drop down field allows you to select the correct answer to the question.
- The 'Answer' text fields is where you will type your answer choices.
Adding Media to an Online Course:
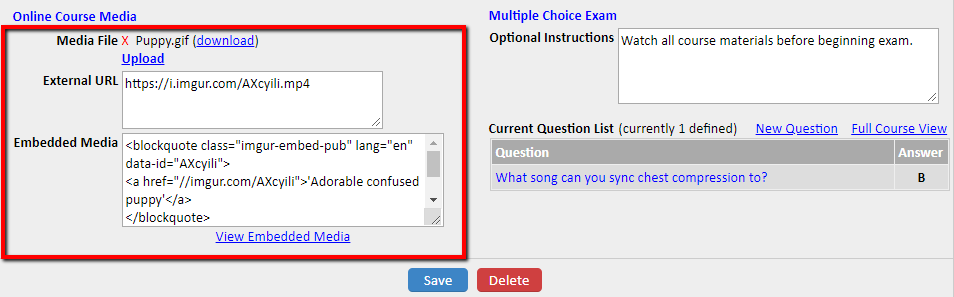
To add content to your online course you will begin by using the 'Online Course Media' section.
- To give your users the ability to download content you will use the Media File tool to upload files.
- To provide your users with access to an external website to review content or files you will use the 'External URL' option to post links.
- If you would like to embed media using HTML you will use the 'Embedded Media' text box. You can post embedded videos or even write and code your own content for users.
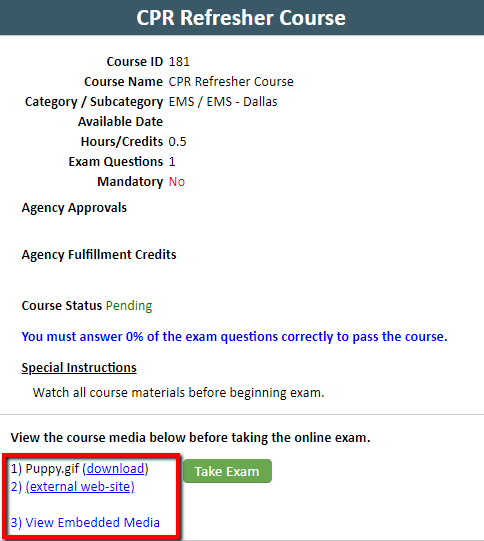
The basic user would simply see up to three options on their end with the various types of content they have access to.
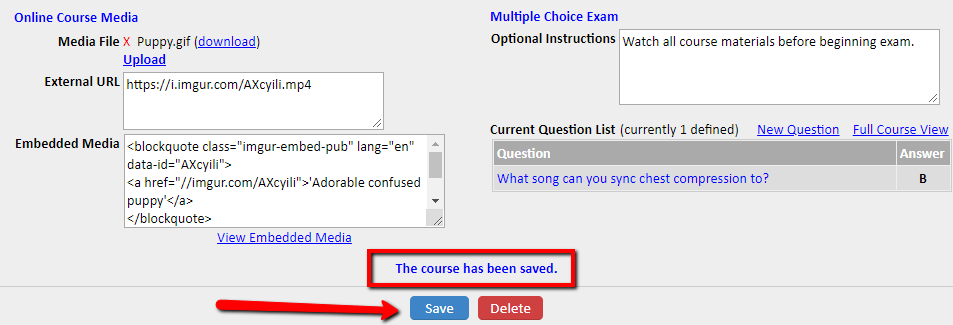
Once all of your questions and media have been added and your course is finished click the blue 'Save' button at the bottom of your screen.
Comments
0 comments
Article is closed for comments.