The Schedule Worksheet provides tools for viewing and managing the schedule on a daily basis. This view displays both staffed and open shifts. Schedulers can view the entire schedule for the day, or use Cost Center and District options to filter the schedule further.
Important things to note:
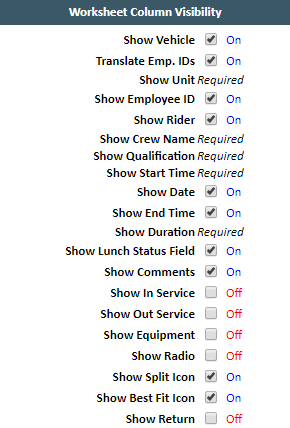
The columns can be adjusted by navigating to Scheduling Admin > Configure Scheduling > Edit Field Column Display List.
Getting Started:
To begin you will navigate to ePro Scheduler > Scheduling > Schedule Worksheet.
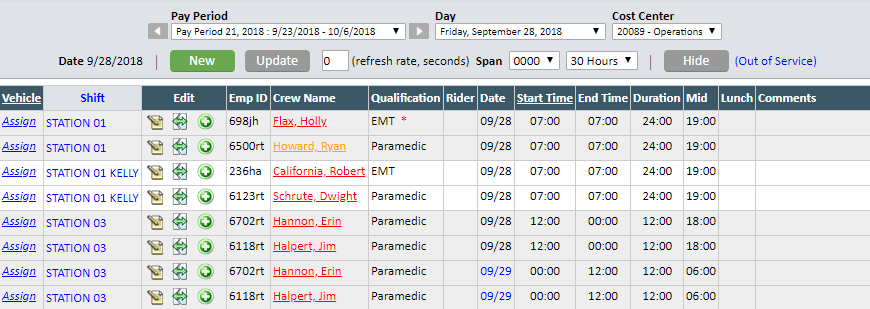
- The 'Pay Period' defaults to current scheduled 14 day period but can be updated to any created period.
- The 'Day' defaults to current scheduled day but can be updated within the selected pay period.
- The 'Cost Center' and 'District defaults to last selected cost center (or ALL) and filters the schedule based on selected Cost Center / District.
- The 'New' button allows you to create a new schedule item.
- The 'Update' button allows you to refresh the page to view the most up to date version of the schedule. You can edit the 'refresh rate' by entering a value in the numeric field which drives the automatic refreshing of the Schedule Worksheet
Editing Columns:
Some of the columns displayed on the worksheet can be enabled / disabled depending on your company's needs.
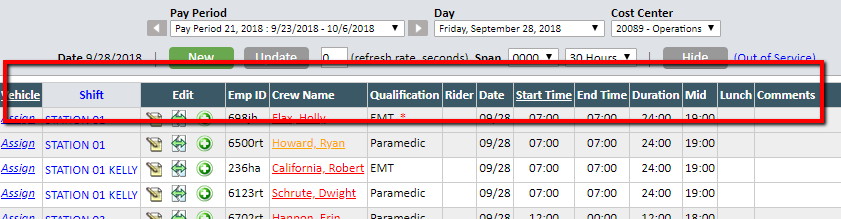
To update the columns visible on your Schedule Worksheet, you will navigate to Admin > Configure Scheduling > Edit Field Column Display List.
Editing Shifts:
To add a vehicle to a shift you will click the blue 'Vehicle' link beside the shift.

The 'Edit' column provides three icons that allow you to take various actions depending on the needs of the scheduler.

- Edit Shift
 - allows you to update shift
 - Split Shift
 - gives you the ability to split a shift into two or more segments
 - Best Fit Window
 - provides a list of qualified employees not currently scheduled during the open shift's time frame. You can find a more detailed walk through on this tool by clicking here!
Comments
0 comments
Please sign in to leave a comment.